Sync Products from PIMS to Shopify
Overview
Step-by-Step Walkthrough
1. Find and open the inventory record of the item you would like to sync to Shopify.
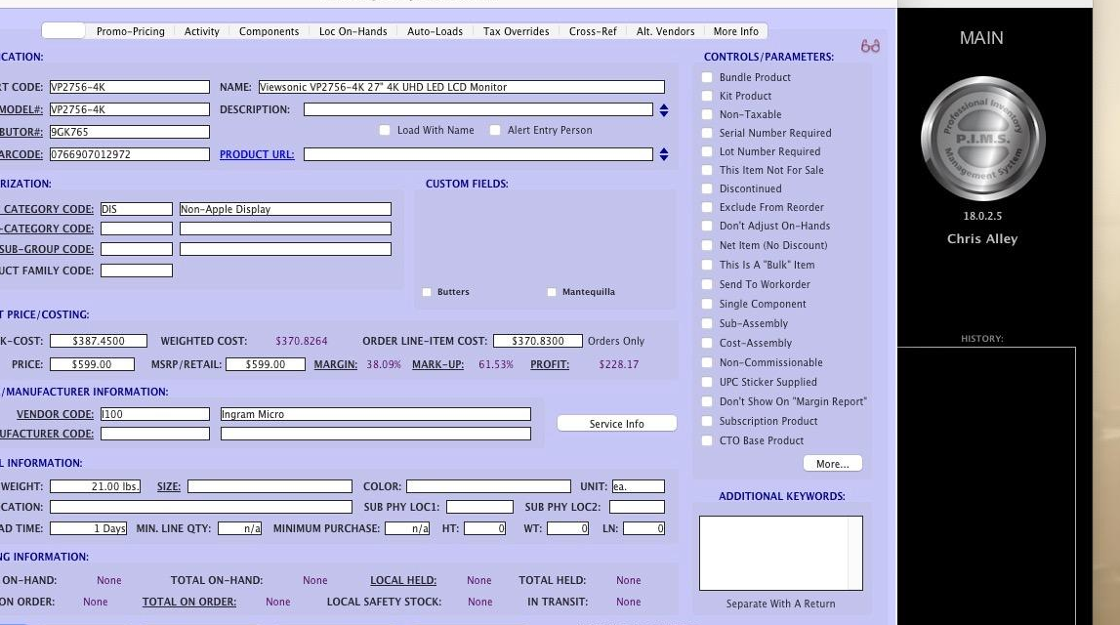
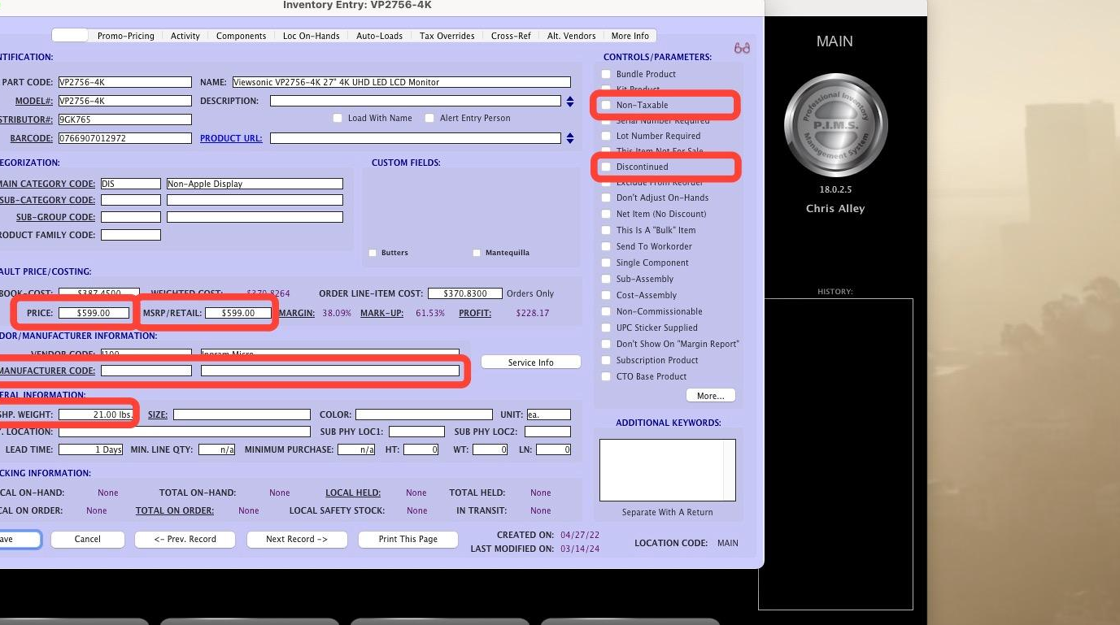
2. Make sure the data on the inventory is accurate. In particular, you want to make sure the PRICE, MSRP, MANUFACTURER CODE, and SHP. WEIGHT fields are filled in correctly.

3. If the item is a variant of a base product—
• Click the Service Info button.
• In the Service Info panel, click the Apple GSX/ACC tab.
• Enter the variant's base product part code into the APPLE PRODUCT BASE# field.
• Click the Done button.

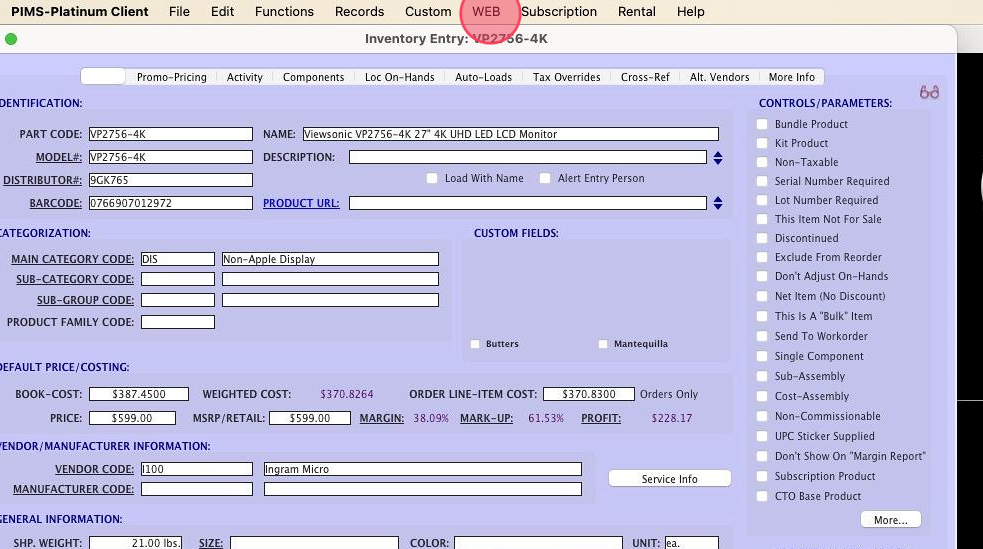
4. Go to the WEB menu.
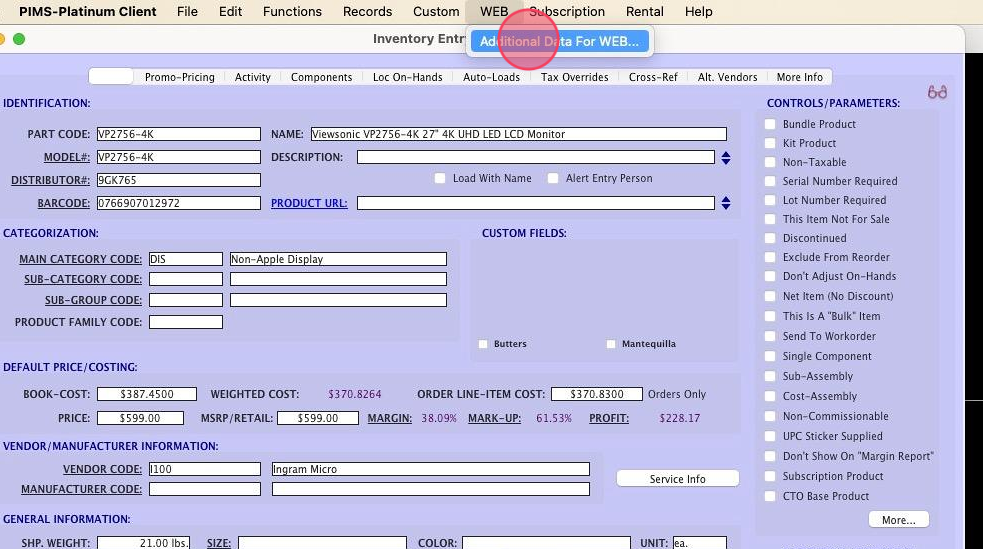
5. Click Additional Data For WEB...
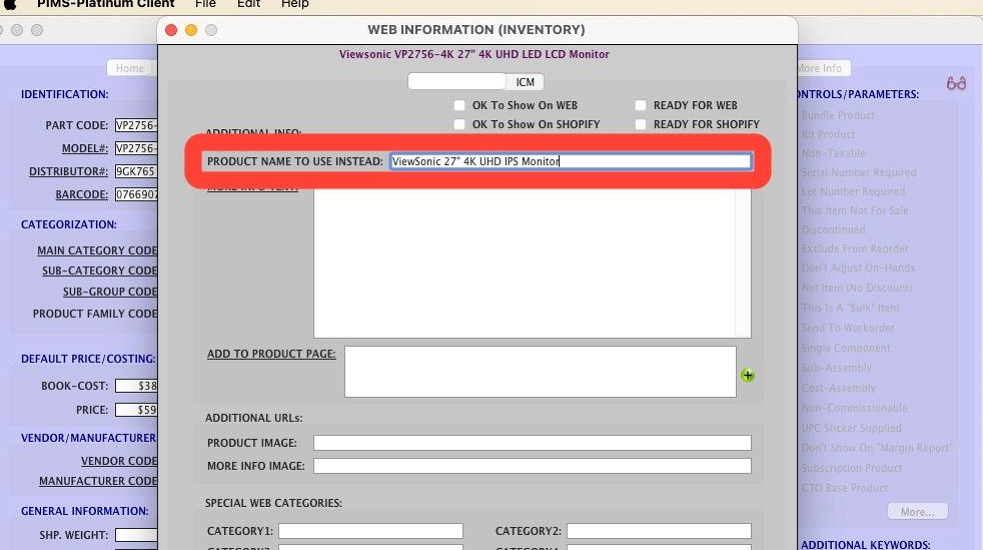
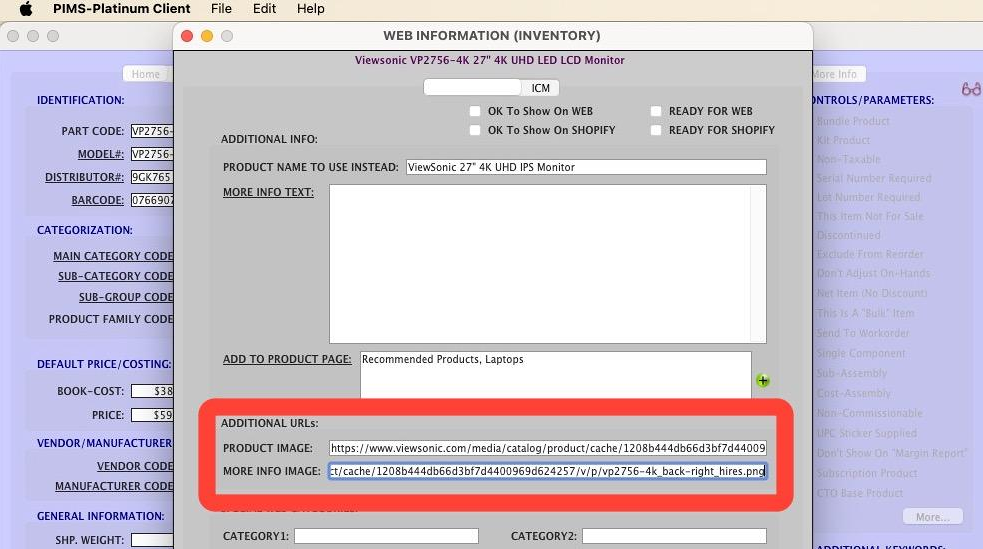
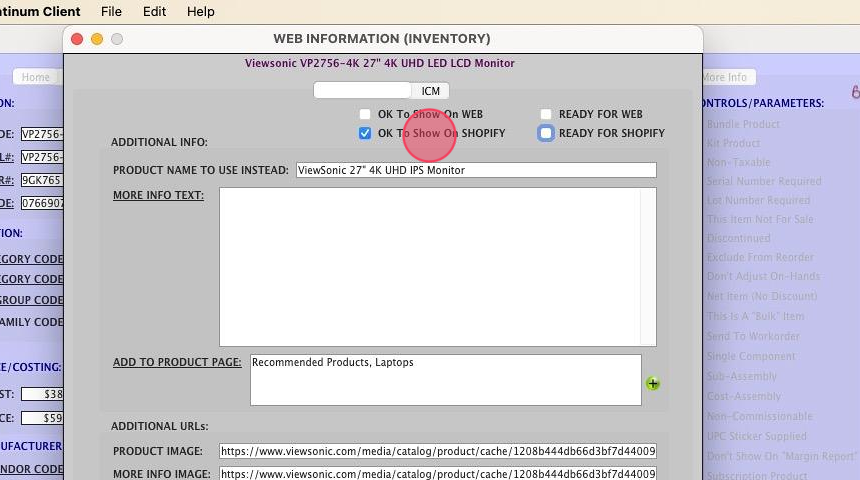
6. If you want the product to use a different name in Shopify, type it into the PRODUCT NAME TO USE INSTEAD field. If you don't enter anything here, Shopify will use the NAME from the Inventory Record.
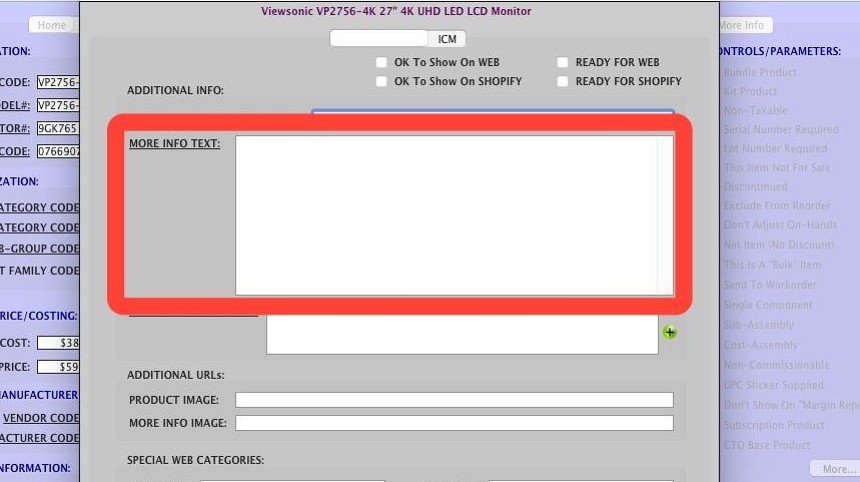
7. If you would like to add a description/marketing copy for the product in Shopify, add that to the MORE INFO TEXT field. You can add plain text or if you would like formatting, you can use HTML in this field.

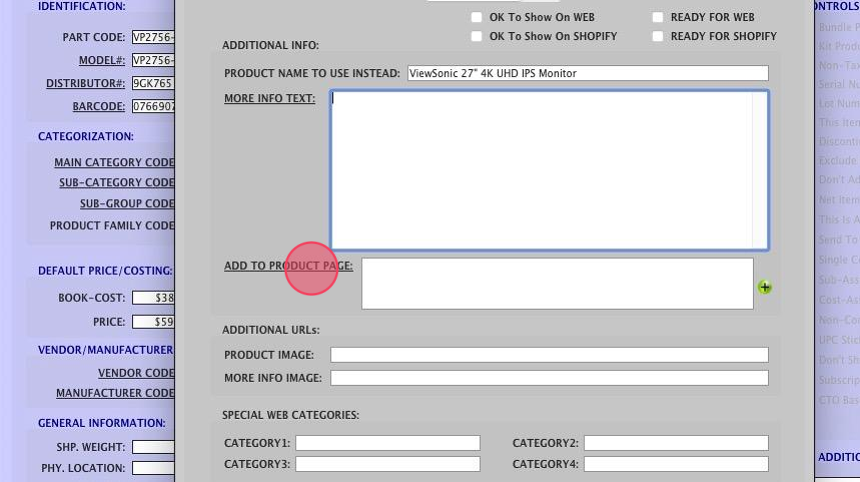
8. Click ADD TO PRODUCT PAGE to choose a Shopify Product Type.
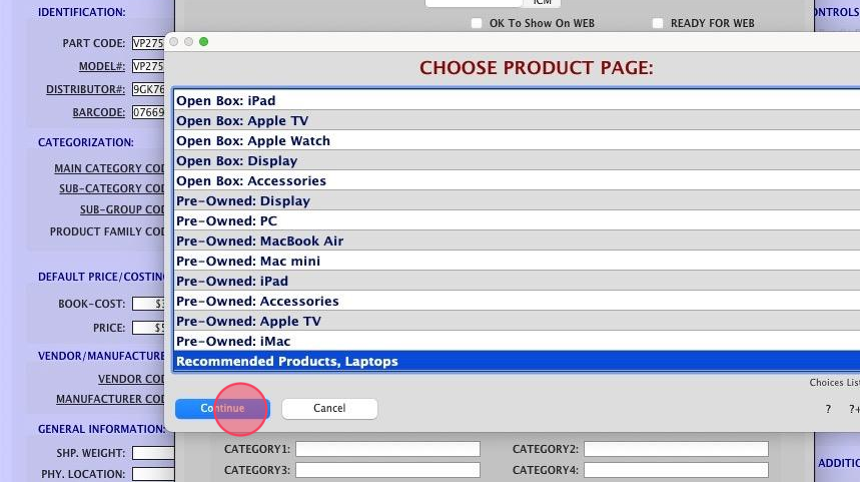
9. Choose the Product Type from the list and then click the Continue button.

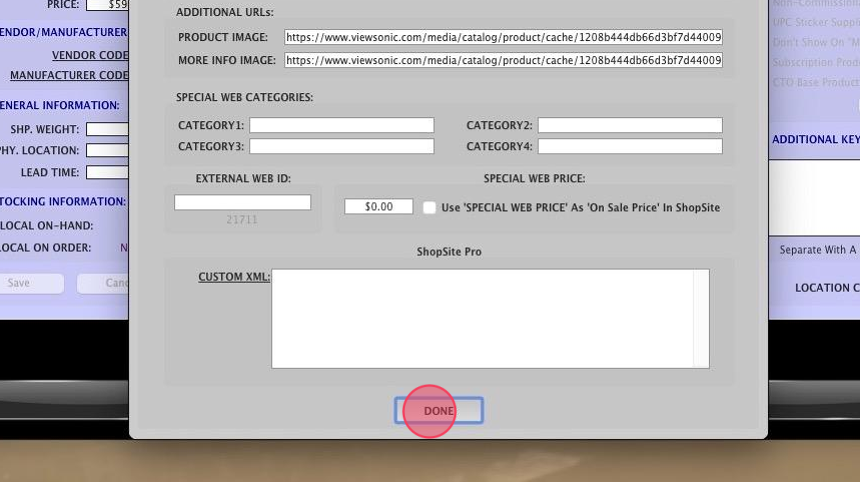
10. You can add up to two images to the Shopify listing by putting image URLs in the PRODUCT IMAGE and MORE INFO IMAGE fields. On the first sync, Shopify will upload the images into its image gallery. After the first sync, you must manage the images in the Shopify UI where you can add up to eight images.
11. Once you are finished updating fields on the inventory record, check the OK to Show On SHOPIFY checkbox to turn on syncing for this product.

12. Click the DONE button at the bottom of the WEB INFORMATION pane.
13. Click the Save button at the bottom-left of the Inventory Record.

Important Notes
When you sync products from PIMS to Shopify, it's important to remember that this process isn't instantaneous. Products can take up to 10 minutes to appear in your Shopify store. Here's what you should do if you don't see your item immediately:
Give It Time: Initially, wait for up to 10 minutes. This allows the syncing process to complete.
Verify Product Settings: If the product isn't visible after waiting, check if the OK to Show On SHOPIFY checkbox is selected for the item in question. This step is crucial for the visibility of your products on Shopify.
Reach Out for Help: If you've followed the above steps and the product still isn't showing up, there might be a more complex issue at hand. Please don't hesitate to contact us for assistance at support@weevio.co. Our team is here to help ensure your products are synced successfully and visible to your customers.
When products are synchronized from PIMS to Shopify, they might not immediately appear in your storefront. This is because, in Shopify, products need to be assigned to a Collection to be visible to your customers.
Shopify offers two types of Collections:
Automated Collections: These are defined by specific rules that automatically include matching products. If your Collections are set up this way, new products syncing from PIMS that meet these criteria will automatically appear in your store.
Manual Collections: These require you to add each product individually. For products syncing from PIMS, you'll need to manually include them in the desired Collection to ensure they are visible on your storefront.
Action Steps:
Review Your Collection Types: Determine whether your Collections are automated or manual. This information is crucial for understanding how new products will be handled.
Adjust Collection Settings if Necessary: If you prefer a hands-off approach, consider setting up or modifying your Collections to be automated with rules that match the products you're syncing.
Regularly Monitor Product Syncs: Keep an eye on products as they sync from PIMS to Shopify to ensure they're being added to the appropriate Collections and thus becoming visible on your storefront.
Remember, the visibility of your products on Shopify directly depends on your Collections configuration. Taking the time to set up and maintain this aspect can significantly enhance your store's efficiency and customer experience.
Related Articles
Shopify Integration
There are two main functions of the Weevio Store Shopify Intergration… When a Shopify order has been paid, our integration will automatically create an order in PIMS. Inventory Records from PIMS that have been marked as “OK to Show on WEB” are ...Add a Shopify Product Type to PIMS
Overview This guide provides step-by-step instructions on how to add a Shopify Product Type to PIMS. By following these steps, users can easily integrate their Shopify products into PIMS, allowing for better inventory management and organization. ...PIMS GSX API Integration
Since Apple's announcement that their SOAP API's were going offline, there's been a lot of discussion as to what options are available to Apple Authorized Service Providers. We believe that the best option is one which takes advantage of the new REST ...Adjusting Inventory for internal use
This process does require the correct PIMS permissions to access the Inventory Reconciliation screen. 1. What you're going to want to do is from the Main PIMS Splash Screen, go to your Others menu, which can be done by going up to File or hitting ...Updates to GSX Functions in PIMS v18028q & v19028q
New Component/Issue Selection During Create Repair Workflow With v7 of the GSX APIs, Apple is now requiring that technicians submit both, the Customer-Reported Component/Issue and the Technician-Verified Component/Issue. (Previously, techs only had ...